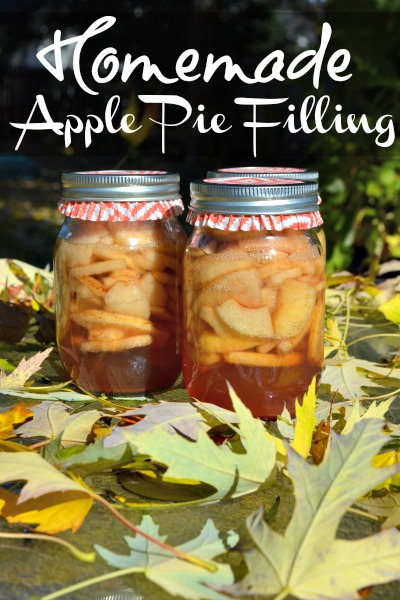
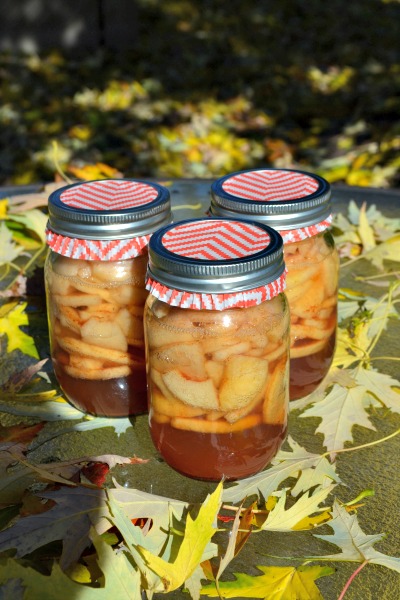
Apple pie is one of the tastiest American traditions that I know of, a warm slice with a nice big scoop of vanilla ice cream on top, you can’t hardly beat it especially after a great meal with family and friends. Homemade apple pie filling probably sounds like a daunting task to most people, but it is really not so bad especially if you have helpers. Preparing and canning foods is a great hands on activity for kids and a great way to spend time as a family.
Some of my favorite memories as a kid were spent in the kitchen with mom and grandma canning everything from strawberry jam to pickles. We spent a lot of time preparing and preserving our own foods back on the farm and it is a skill and a tradition that I still practice to this day. Well enough reminiscing let’s make some homemade apple pie filling!
The time is all in the preparation of the apples, peeling, coring, slicing, but you can accomplish all of that in seconds with a small hand operated kitchen appliance that is simply called a peeler corer slicer. They sell for about $14 bucks at your big box store but watch those rebates, I got mine for $4 after a ten dollar rebate! Simply push the apple onto the spikes and turn the handle until it is peeled, cored, and sliced, remove any other blemishes with a knife and drop the sliced apples into a bowl of water that has at least 2 TBS of lemon juice mixed in. The Lemon juice will keep the sliced apples from browning while you are working on the rest. There is no need to rinse the lemon juice from the apples it will not affect the taste and will act as a natural preservative.
You have a couple options for how to store your pie filling, you can can it, or you can freeze it. I prefer canning because I already have a good supply of mason jars on hand and a hot water bath canner. For more information on canning, my favorite website is pickyourown.org they explain everything in great detail with lots of pictures.
For my homemade apple pie filling I pack the apples into hot jars and pour the hot syrup over the apples leaving about an inch of head space, then put the lids and rings on and boil in a hot water bath for about 25 min. The recipe below will cover 6 pints or 3 quarts of sliced apples, I like to make quarts for apple pies and I like to use pints for our apple muffins and anything else that uses less pie filling. This is one of the best things about making apple pie filling yourself because you can put it into containers that are perfect for the recipe you are making instead of wasting all the extra from the one size can in the store.
The recipe below is for the syrup that makes it apple pie filling, the only special ingredient that you need to purchase is Sure Jel, this is what thickens the syrup and preserves the apples, do not use corn starch because it can break down while the pie filling is stored and become unsafe to eat. We are still using last years apple pie filling and it is as perfect as the day it was canned! Let me know how your pie filling turns out and as always feel free to ask any questions that you have. Enjoy!
| Homemade Apple Pie Filling | Print |
- Gel
- 2 C. water
- 1-1/2 TBS lemon juice
- ½ C. Sure Jel
- Seasonings
- 5 C water
- 2-1/4 C sugar
- 1 tsp salt
- 1 TBS cinnamon
- Make the gel first by mixing 2 cups of water, the lemon juice, and the Sure Jel, then set aside
- Next mix the 5 cups water and the rest of the seasonings in a pan on the stove over low heat, whisk to combine all ingredients and slowly bring to almost boiling.
- Then add the gel mixture which should be thickened by now and whisk quickly till combined and return almost to boiling.
- Then pour over apples in jars and boil in a hot water bath canner for 25min.
I am the husband of the Geek and the beard behind the blog! I really enjoy writing about my family and all of my interests. I will be sharing everything from great grilling recipes to the perfect beer for the season.


