
We’ve all been there: standing in the grocery checkout line, staring at those candy bars and thinking, ‘I could totally make that.’ Well, you can—and it’s actually better. Whether you’re looking for a 5-minute activity with the kids or you want to channel your inner artisan chocolatier, I’ve got you covered. Today, we’re breaking down the Cheat Method (how to make chocolate bars from chocolate chips) and the Craft Method (how to make chocolate bars from scratch)
Option 1: The “Cheat” Method (Melt & Pour)
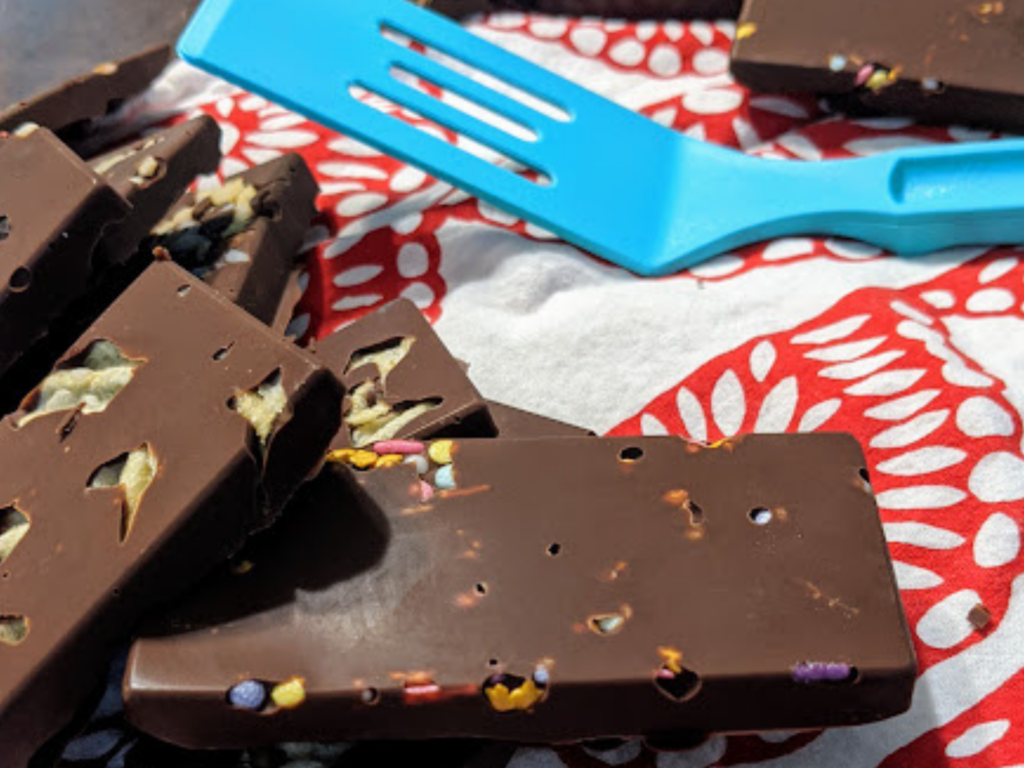
Best for: Party favors, kid activities, or when you just need a potato-chip-stuffed chocolate bar NOW.
Using a silicone chocolate bar mold you can make homemade candy bars at home in a few minutes with chocolate chips! I think the absolute best part is that you get to make 8 bars at a time, so you can really personalize what’s in them. Need topping ideas? Scroll down for some of my favorite add-ins.
The ingredients:
Use high-quality chocolate chips (Ghirardelli or Guittard) and coconut oil to make chocolate bars with chocolate chips.
The Process:
Add 1 tsp of coconut oil per cup of chips. It thins the chocolate so it fills the corners of your mold perfectly and gives it a gorgeous shine. Microwave in 30-second bursts. Stir until silky. Pour. Set. & Enjoy.
Homemade Chocolate Bar Recipe
Option 2: The “Craft” Method (The Chocolatier’s Way)
Best for: Gift-giving, ingredient-conscious snacking, and that satisfying professional ‘snap.’
The Science: To get a bar that doesn’t melt in your hand, we skip the pre-made chips and use food-grade cocoa butter.
The Ingredients:
Ingredients
Method
- Double Boiler: Place a bowl over a pot of simmering water (don’t let the bowl touch the water). Melt the cocoa butter completely.
- Combine: Sift in the cocoa powder and powdered sugar. Whisk constantly until completely smooth.
- Temper (Optional but Recommended): To get a professional shine, let the mixture cool to about 82°F (28°C) while stirring, then briefly set it back over the heat for 5-10 seconds until it hits 88°F–90°F.
- Set: Pour into molds and leave at room temperature (or fridge) until solid.
Notes
- Keep it Dry: Even one drop of water from the steam or a wet spoon will cause your chocolate to “seize,” turning it into a gritty, clumpy mess. Ensure all tools are bone-dry.
- The “Snap” Test: If you want to know if your chocolate is tempered correctly, dip a spoon in and put it in the fridge for 3 minutes. If it comes off the spoon clean and shiny, it’s perfect.
- Toppings: Add sea salt, crushed pretzels, or freeze-dried raspberries to the mold before you pour the chocolate for a professional look.
The Key:
This version is naturally dairy-free! Homemade Chocolate only has a handful of ingredients so you know what you’re eating. That means you can eat these basically guilt free, right?
The Fun Part: The “Topping Gallery”
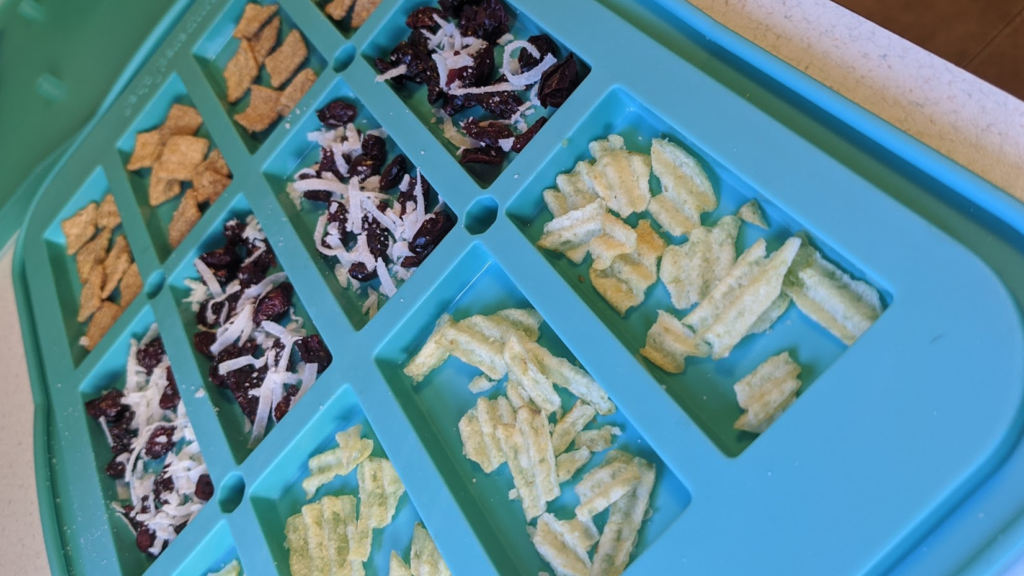
Make sure you have a silicone chocolate bar mold on hand to make this process so much easier!
| The Vibe | What to Add |
| The Movie Night | Crushed potato chips + Sea salt |
| The Breakfast Bar | Dried cranberries + Toasted almonds |
| The “Grown Up” | Espresso beans + Dark sea salt |
| The Birthday Cake | White chocolate drizzle + Rainbow sprinkles |
Whichever method you use, make sure you account for “mom tax” I definitely snuck one or two of these as soon as they were ready to eat!
Love this recipe and want to see more like it? Join the farm fam to get our recipes sent to your inbox every month for free!
Leave a Reply
You must be logged in to post a comment.