
This post has been updated with new tips, better photos, and helpful tricks. This post contains affiliate links. If you click and buy, I may receive a small commission (at no extra cost to you) which helps support our family, farm and this blog. Thanks for the love!
Making pie crust at home is so much easier than you think, and so much cheaper than buying store bought! When you realize just how easy it is to make pie crust I bet you’ll find a lot more pies in your future. You don’t need a dozen ingredients or professional tools—just four pantry staples and one simple secret to get those bakery-style flakes every single time.
Why You’ll Never Buy Store-Bought Crust Again
- Better Flavor: Real butter or lard tastes better than the oils used in pre-made crusts.
- Massive Savings: It costs about $0.60 to make a crust at home versus $5.00+ for a premium store-bought version. I buy all of our pantry staples in bulk to keep the costs even lower! Looking to save money, check out 20+ things I stopped buying at the store while homesteading.
- Texture Control: You control the “flakiness” by how you handle the fat.
The 4 Essential Ingredients
- All-Purpose Flour: Bought in 50lb bags for the best value.
- Cold Fat: Using a combination of half butter and half lard has been a game changer for taste and flakiness.
- Salt: For flavor balance.
- Ice Water: The key to keeping the fat from melting.
My “Secret” Tips for Maximum Flakiness
- For the flakiest crust use a 50/50 blend of lard and butter. We like to render our own lard. Did you know that you can normally get scraps for lard at the local butcher shop for next to nothing if you ask!
- Make sure you keep all of your ingredients cold, your water needs to be almost icy cold. (I use filtered water that I keep in the fridge)
- Pro-Tip: I use a dough blender to keep from overworking the dough. If you’re in a hurry you can use a food processor.
Step-by-Step: How to Master the Crust
- Cut the butter into the flour and salt. You want your mixture to resemble corn meal. I use my dough blender for this.
- Make sure you slowly add your ice cold water. Make sure not to overmix.
- Roll into balls and smash into a disc shape, cover and refrigerate for at least 4 hours.
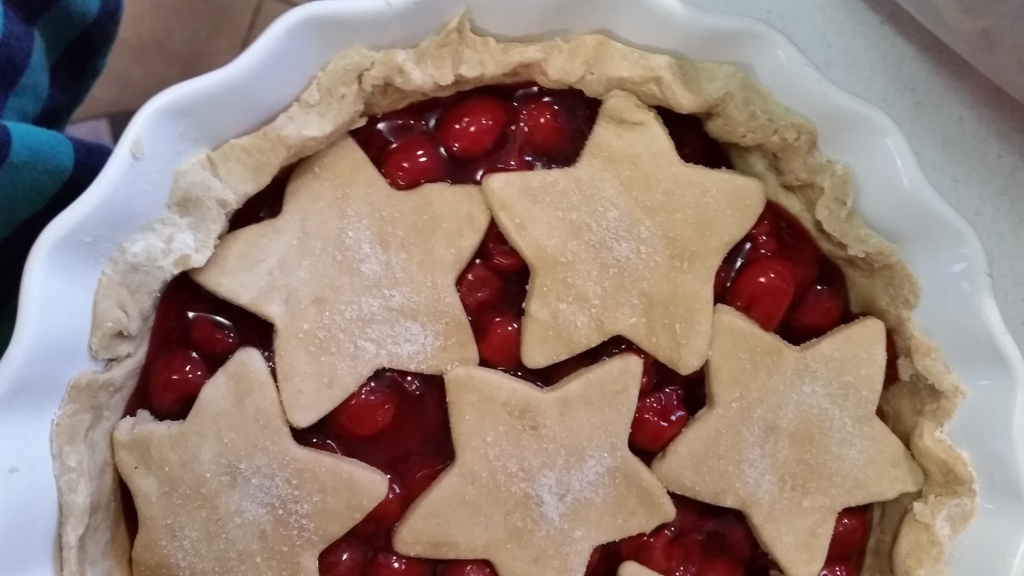
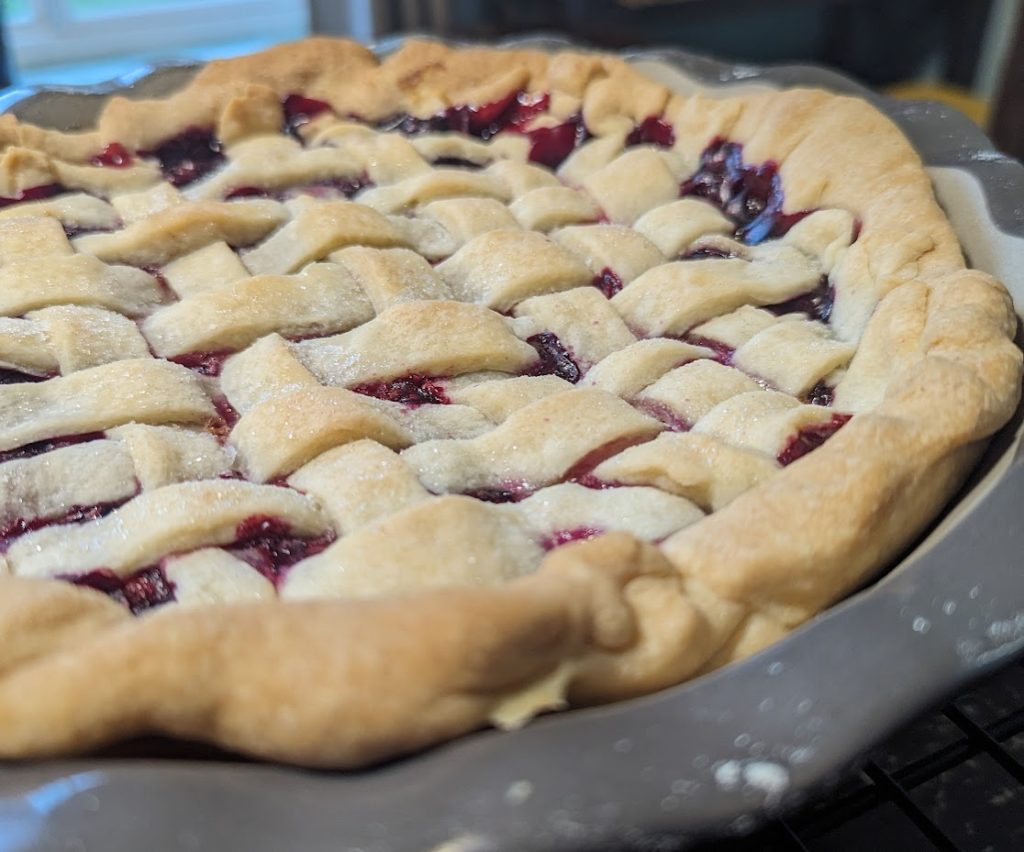
- Roll out your dough into perfect (or rustic) circles on a floured surface. Cook according to your pie instructions.
FAQs: Troubleshooting Your Pie Crust.
- Why is my crust tough? If your crust is tough you’ve probably overworked the dough. You don’t want to knead this dough too much and if you use a food processor, pulse just until combined.
- Why did my crust shrink? You probably didn’t chill the dough long enough. You need a good 4 hours at least for the perfect dough.
- Can I freeze this? Yes! You can definitely freeze your dough for an easy dessert in a hurry. You can freeze the dough in discs wrapped tightly in plastic for up to 3 months, or by shaping raw crusts directly into pie pans and freezing them for up to 2 months. To prevent freezer burn, use heavy-duty plastic wrap, foil, plus seal in airtight bags.

Ingredients
Method
- In a large bowl, combine flour and salt. Use a pastry blender to cut in cold chunks of butter until mixture resembles cornmeal.
- Stir in water gradually, keep stirring until mixture forms a ball (I normally help the process along by shaping it with my hands)
- Cover bowl in plastic wrap and refrigerate for at least an hour.
- Roll dough on a floured surface with a floured rolling pin. Make sure you roll it out evenly and large enough to overlap into your pie plate.
- Place crust in pie plate, press dough evenly into the sides and bottom of pan.
- Bake according to pie recipe or filling instructions.
Notes
This recipe makes a single crust, if you’re making a pie that requires a top crust, make sure to double it!
If you want a flakier crust substitute half of the butter for lard.
Favorite recipes using this pie crust
If you enjoyed this recipe, you might also like these other family-friendly recipes from the blog:
Better than grandma’s apple pie

Final Thoughts
Give it a try this week and see if it tastes better than store bought, then come back and let me know! Want more free recipes sent to your inbox monthly? Join the farm fam!
What kind of pie are you going to make? Let me know in the comments below!
Awesome, timely recipe! I am making apple pie next week.:)
Perfect! I hope your pie tasted wonderful!
Looks like a great recipe.
I love trying new recipes. Thanks for sharing this yummy one!
Thank you for reading!
Wow! This looks so yummy! Thanks for sharing your recipe!
Thank you for reading!
use cheese grater for chilled butter, a tip I learned from another pinterest post!
That might work good! I’ll have to try it, thanks for the tip!
I love an easy pie crust recipe! I’ll definitely use it to make tons of home made pumpkin pies for Thanksgiving!! thanks for sharing!!
Love this recipe! I will have to try it out for the holidays!
nice recipe I love it
OK, fine, you’ve convinced me. I’ll try your recipe instead of the store-bought ones next time!
Hooray! I hope you love it as much as we do. ( I actually just whipped up one of these crusts this morning, I use pie crust in everything thanks to this recipe.)
Thanks for letting me know! When I’m in a hurry I normally only chill for an hour, but I’m glad to know that it works without the chilling step.
Mmm… I love pie! Your crust recipe sounds great. Thanks for sharing at the #HomeMattersParty – we’re looking forward to what you have to share next week. 🙂
~Lorelai
Life With Lorelai